Intro Link to heading
While making a Zephyr tutorial, I bricked the board I was working on. I’m planning on releasing that guide soon. Before that I wanted to share the details on what hardware I bricked, what I used to fix it, and how I did it.
Hardware Link to heading
MCU Dev board: Sparkfun SAMD21 Dev Breakout SoC Debug device: Jeff Probe, which is an open source variant of the black magic debugger, but much cheaper ~$15 vs ~$85
| Board | Picture |
|---|---|
| Sparkfun SAMD21 Dev Board | 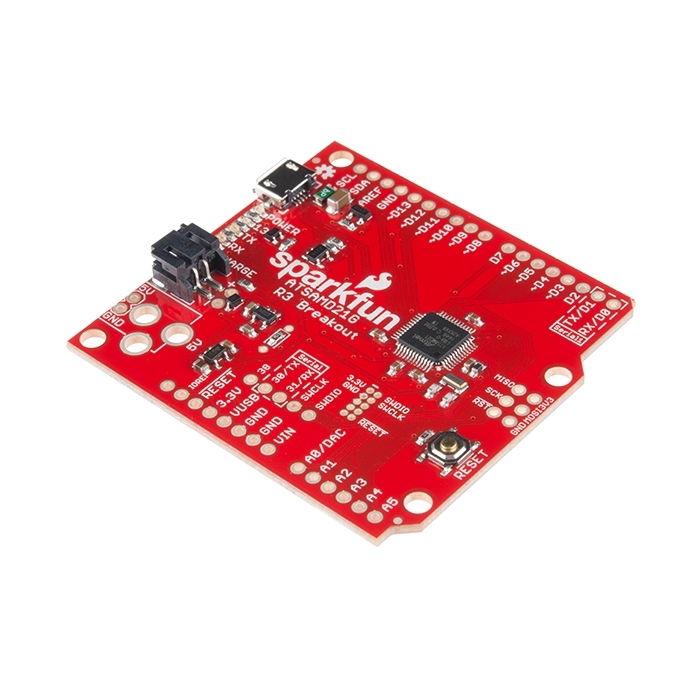 |
| Jeff Probe Debugger | 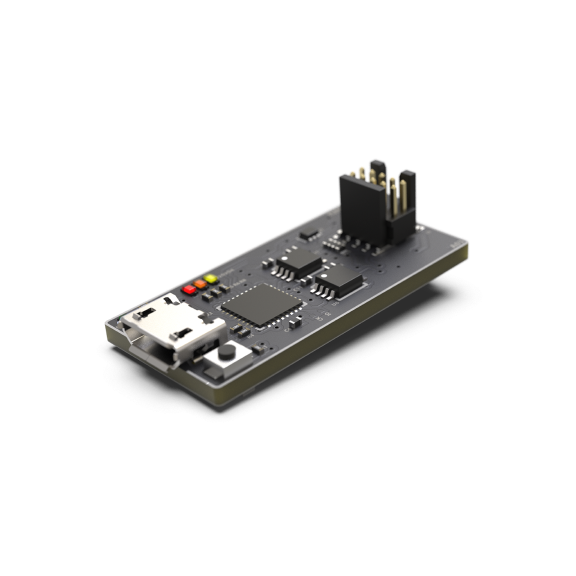 |
🟡 You may need to solder the jtag header on the devboard. Some flux and an okay iron works well. You need 2x5, 1.27mm Pitch breakout pins.
Install Link to heading
You need to install arm-none-eabi toolchain to build the bootloader and run gdb:
# Arch
pacman -S arm-none-eabi-gdb arm-none-eabi-gcc arm-none-eabi-newlib
# Ubuntu
apt install gcc-arm-none-eabi newlib-arm-none-eabi gdb-multiarch
Clone Link to heading
Clone and build the bootloader source code:
git clone https://github.com/adafruit/uf2-samdx1
cd uf2-samdx1
make BOARD=sparkfun-samd21-dev
# output file build/sparkfun-samd21-dev/bootloader-sparkfun-samd21-dev-v3.16.0-19-g4365018.elf
Flash Link to heading
To flash the board, first follow these steps to prepare the board to be flashed:
- Connect JTAG cable from probe to dev board.
- Connect microusb to probe from PC (take note of what /dev/ttyACM<number> it enumerates as. Two will usually show up, use the lower one. To be really sure, run
sudo dmesg -Wto follow the kernel logs when you plug it in, it should show which devices are enumerated. - Connect microusb to dev board from PC
- Edit a file
gdbinitand put the following contents in:
target extended-remote /dev/ttyACM<num> # check in dmesg
monitor swdp_scan # make sure this works too, cable could be upside down
attach 1
load
- Run gdb with your
gdbinitscript:
sudo arm-none-eabi-gdb bootloader-sparkfun-samd21-dev-v3.16.0-19-g4365018.elf -x gdbinit
# You don't need sudo if you put yourself in the right group
- Unplug the probe and hard reset the dev board. Double tapping the reset button should put it back into bootloader mode.
🔴 If something went wrong during the GDB step, the most likely error is your jtag cable is upside down, verify that the output of the monitor swdp_scan shows a successful probe of the dev board